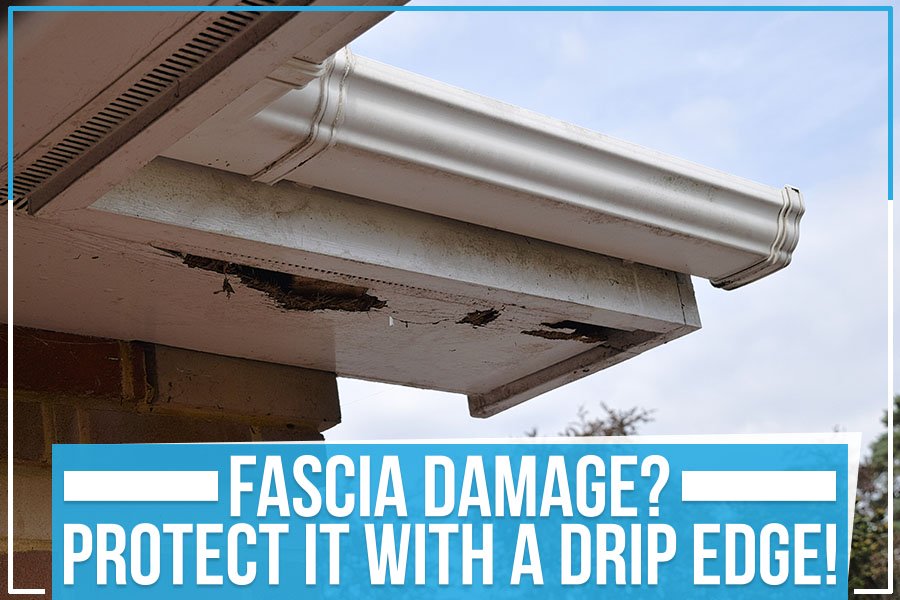
Damage from water can be especially destructive to your home’s exterior. Like most homeowners & property managers, you probably don’t think about your roof until there’s a problem. And even then, it’s only the big issues that get your attention.
You might not know that there are smaller, less expensive problems that can cause just as much damage – if not more. One of those is water damage from roof runoff. One way to protect your roof and fascia from this kind of damage is to install a drip edge.
A drip edge is a simple, inexpensive addition that can save you a lot of money in the long run. Today Integrity Exteriors is going to show you how to install it! Keep reading to learn more!
What is a Drip Edge?
When it comes to your roof, one of the most important components is the drip edge. It is a metal strip that helps to keep water from running off the edge of your roof and onto your home’s siding or trim.
It also helps keep ice and snow from building up on the edge of your roof. Without a drip edge, water can seep under your shingles and cause serious damage to your roof.
Why Install a Drip Edge?
There are several reasons you should install a drip edge on your roof.
Protects Your Fascia:
First, it will help to protect your fascia from water damage. The fascia is the board that runs along the edge of your roof. It is usually made of wood or vinyl and can be easily damaged by water.
Keeps Your Gutters Clean:
Second, a drip edge will help to keep your gutters clean. When water runs off the edge of your roof without a drip edge, it can splash dirt and debris into your gutters. That can clog your gutters and cause water to back up onto your roof.
Prevents Shingle Damage:
Finally, a drip edge can help to prevent damage to your shingles. When water runs off the edge of your roof, it can cause the shingles to curl and lift. That can cause leaks and other problems.
Drip Edge Installation Process:
Installing a drip edge is a relatively simple process.
Measure Roof Length:
First, you need to measure the roof’s length. That will determine how much drip edge you need to purchase.
Remove Old Drip Edge:
Next, you need to remove any old drip edge on your roof. You can do this by plucking it off with a crowbar or another tool.
Clean Fascia Board:
After removing the old drip edge, you need to clean the fascia board. That will ensure that the new drip edge will adhere properly.
Apply Adhesive:
Next, you need to apply an adhesive to the back of the drip edge. The adhesive will help it to stay firm.
Nail It In Place:
Make sure you nail down your drip edge so it doesn’t budge. You can start at one corner and advance your way to the next. Ensure that the nails are driven into the sheathing for a secure hold.
You can install a drip edge and protect your fascia from water damage by following these simple steps. It’s an easy and inexpensive way to keep your home in top condition.
If you require a new roof in Burke, VA, and are worried about the damage your old one may have caused to your fascia, don’t worry. Integrity Exteriors, serving Burke, VA, offers drip edge installation as part of our complete roofing services.
We’ll repair the damage for you so that your home looks great and is protected from the weather. Plus, we offer free estimates so you can get started right away.
Check out our service page online to see how we can help you!

